Introduction
In this tutorial, we’ll walk through creating a WebGIS application using FastAPI, PostGIS, and Leaflet.js. The goal is to create a map that displays points stored in a PostGIS database and allows users to add new points by clicking on the map. We’ll cover setting up the FastAPI backend, creating the PostGIS database, and developing the frontend with Leaflet.js to display the map.
Prerequisites
Before we begin, you’ll need the following:
- Python (version 3.7 or higher)
- PostgreSQL with PostGIS extension installed
- FastAPI and Uvicorn for the backend
- Leaflet.js for the frontend map
Ensure you have PostgreSQL and PostGIS set up and running on your machine.
Installing Required Libraries
First, install the necessary Python libraries:
pip install fastapi uvicorn asyncpg sqlalchemy alembic pydantic psycopg2
For Leaflet.js, we’ll use a CDN, so no installation is needed on the Python side.
Step 1: Set Up PostgreSQL and PostGIS
Create a PostgreSQL database and enable PostGIS:
# Create a new database
CREATE DATABASE webgis;

# Enable PostGIS extension
\c webgis
CREATE EXTENSION postgis;
Next, create a points table to store our geographic data (point name, latitude, and longitude):
CREATE TABLE points (
    id SERIAL PRIMARY KEY,
    name VARCHAR(255),
    latitude DOUBLE PRECISION,
    longitude DOUBLE PRECISION,
    geom GEOGRAPHY(Point, 4326)
);
Step 2: Set Up FastAPI Backend
We’ll create a FastAPI app to interact with the PostGIS database. The app will expose endpoints to add new points and fetch all existing points.
Create main.py for FastAPI Backend
from fastapi import FastAPI, HTTPException
from pydantic import BaseModel
from sqlalchemy import create_engine, Column, Integer, String, Float
from sqlalchemy.ext.declarative import declarative_base
from sqlalchemy.orm import sessionmaker
from sqlalchemy.future import select
from sqlalchemy.orm import Session

# Set up database
DATABASE_URL = "postgresql://username:password@localhost/webgis"
engine = create_engine(DATABASE_URL, echo=True)
SessionLocal = sessionmaker(autocommit=False, autoflush=False, bind=engine)
Base = declarative_base()

# Create a model for points
class Point(Base):
    __tablename__ = 'points'
    id = Column(Integer, primary_key=True, index=True)
    name = Column(String, index=True)
    latitude = Column(Float)
    longitude = Column(Float)
    geom = Column(String)  # GeoJSON representation of point

Base.metadata.create_all(bind=engine)

# FastAPI app setup
app = FastAPI()

# Define Pydantic model for the point data
class PointCreate(BaseModel):
    name: str
    latitude: float
    longitude: float

@app.post("/add_point/")
async def add_point(point: PointCreate, db: Session = Depends(get_db)):
    db_point = Point(name=point.name, latitude=point.latitude, longitude=point.longitude)
    db.add(db_point)
    db.commit()
    db.refresh(db_point)
    return {"message": "Point added successfully!", "id": db_point.id}

@app.get("/get_points/")
async def get_points(db: Session = Depends(get_db)):
    points = db.execute(select(Point)).scalars().all()
    return points

def get_db():
    db = SessionLocal()
    try:
        yield db
    finally:
        db.close()
This FastAPI app does two things:
- It exposes an endpoint to add a point (
POST /add_point/). - It exposes an endpoint to get all points from the database (
GET /get_points/).
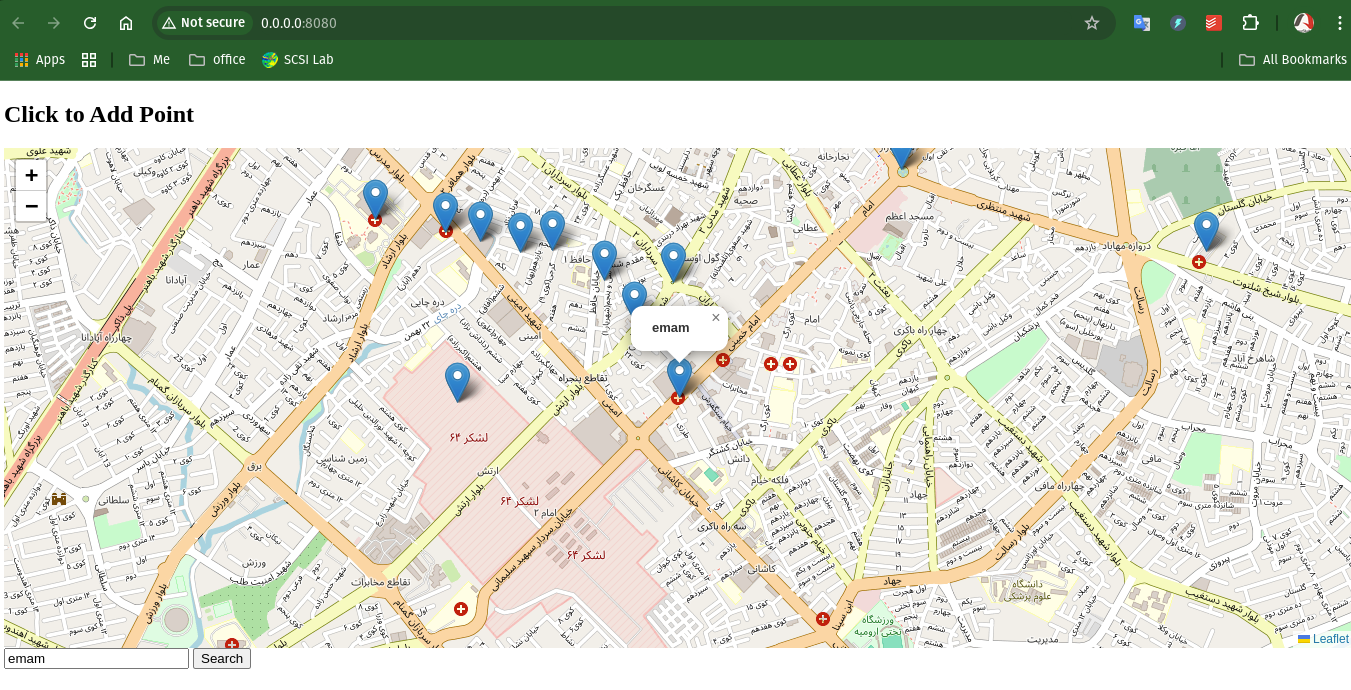
Step 3: Develop the Frontend with Leaflet.js
Now, let’s create the frontend using Leaflet.js to display the map and interact with the backend.
Create index.html
<!DOCTYPE html>
<html lang="en">
<head>
    <meta charset="UTF-8">
    <meta name="viewport" content="width=device-width, initial-scale=1.0">
    <title>Simple WebGIS</title>
    <link rel="stylesheet" href="https://unpkg.com/leaflet/dist/leaflet.css" />
    <script src="https://unpkg.com/leaflet/dist/leaflet.js"></script>
    <style>
        #map { height: 500px; width: 100%; }
        #searchBox { width: 200px; margin: 20px; padding: 5px; }
    </style>
</head>
<body>
    <input type="text" id="searchBox" placeholder="Enter point name..." />
    <button onclick="searchPoint()">Search</button>
    <div id="map"></div>

    <script>
        let map = L.map('map').setView([37.5, 45.0], 10);  // Default view
        L.tileLayer('https://{s}.tile.openstreetmap.org/{z}/{x}/{y}.png').addTo(map);

        let markers = {};  // Store markers by name

        async function loadPoints() {
            try {
                const response = await fetch("http://127.0.0.1:8000/get_points/");
                const points = await response.json();

                points.forEach(point => {
                    let marker = L.marker([point.latitude, point.longitude])
                        .addTo(map)
                        .bindPopup(`<b>${point.name}</b>`);
                    markers[point.name.toLowerCase()] = marker;
                });

            } catch (error) {
                console.error("Error loading points:", error);
            }
        }

        loadPoints();

        function searchPoint() {
            let searchQuery = document.getElementById("searchBox").value.toLowerCase();
            if (markers[searchQuery]) {
                let marker = markers[searchQuery];
                map.setView(marker.getLatLng(), 15);  // Zoom to the point
                marker.openPopup();
            } else {
                alert("Point not found!");
            }
        }
    </script>
</body>
</html>
In this HTML file:
- We initialize the Leaflet map with a default view.
- We fetch points from the FastAPI backend using
fetchand display them on the map. - The search box allows users to search for points by name and zoom to them.
Step 4: Run the Application
Start FastAPI Server
Run the FastAPI server using Uvicorn:
uvicorn main:app --reload
Open index.html
Open the index.html in your browser. The map should load, and you should be able to add points and zoom to them using the search box.
Conclusion
In this tutorial, we created a simple WebGIS application using FastAPI, PostGIS, and Leaflet.js. We set up a PostgreSQL database with PostGIS, created a FastAPI backend to interact with the database, and built a frontend with Leaflet.js to display the map and add points. This simple WebGIS can be extended with more features such as editing points, adding more layers, and geospatial analysis.